Now, let's proceed:
Gather all the supplies (Glad Kitchen cling wrap, iron, drawing pads the cheapest one, scissors, colored cardstock(s) and of course your choice of paper napkins. Remember that different colors of cardstock will give different effects. I started experimenting with white first.
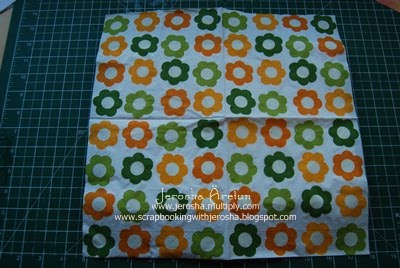
If you spread your paper napkin it's big, right?
Cut the paper napkin according to the size that you need. But if you plan to cover a 4 x 6 or 5 x 7 cardstock, it's best to cut 1/4 of the paper napkin.
Every paper napkin has 3 layers. Remove the 2 layers from the bottom.
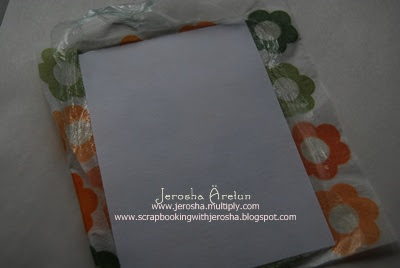
Open your cheap drawing pad ... I did open mine after 2 sheets. Then lay your plain colored cardstock first followed by glad cling wrap then the paper napkin. Be sure that that the paper napkin is bigger than the size of your cardstock. Be sure that the glad cling wrap is bigger than the paper napkin.
Then cover ... still using the cheap drawing pad.
See, I opened mine after 2 sheets and that served as the cover.
Set your iron to medium and when it's hot begin ironing for about 20 seconds or more. It really depends which iron you are using. With my craft iron it took 30 seconds as compared to the usual house iron which took about 20 seconds. This is how the back should look like. Check if you were able to adhere successful. If not, do iron again =) Afterwhich, trim the excess and you'll have a covered cardstock =)


 Posted by


2 comments:
Just a quick note to let you know that a link to this post will be placed on CraftCrave today [24 Apr 02:00pm GMT]. Thanks, Maria
You are always welcome, Maria =) Thanks so much!
Post a Comment